

How To Change The Rear Tire On A 2004 Harley Davidson Roadking
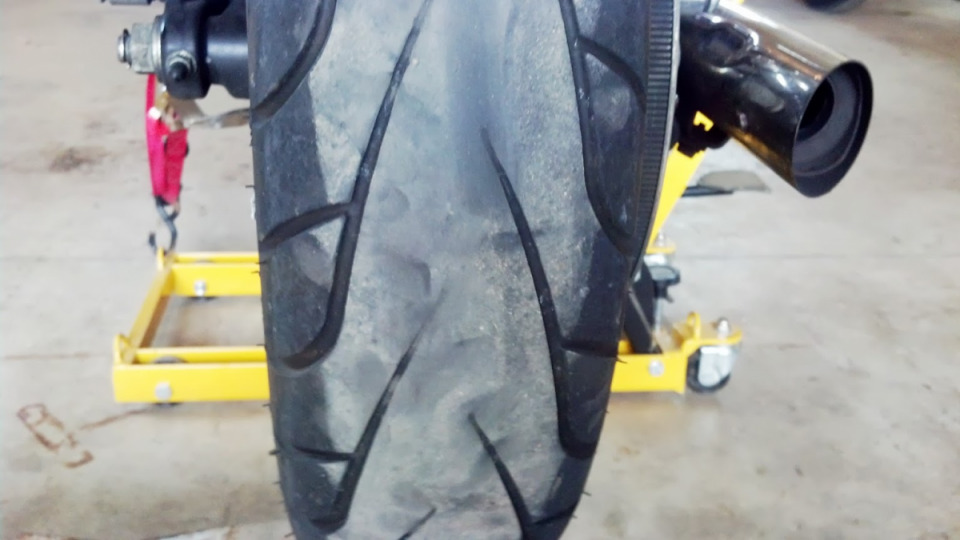
How-do-you-do everyone lets go to it. You've been riding and riding and riding and at present your rear tire looks like this
What do you practise? Accept information technology to a dealer, to an Indy? Nahhh
Alter it yourself.
Here's how:
1. Jack up the wheel and tie it down. Yous are going to be wrenching on stuff with a lot of forcefulness so you want the bicycle really secure. Also, place another jack nether the rear tire if you have one. It makes the rest of the process easier though it can exist washed using blocks of wood stacked

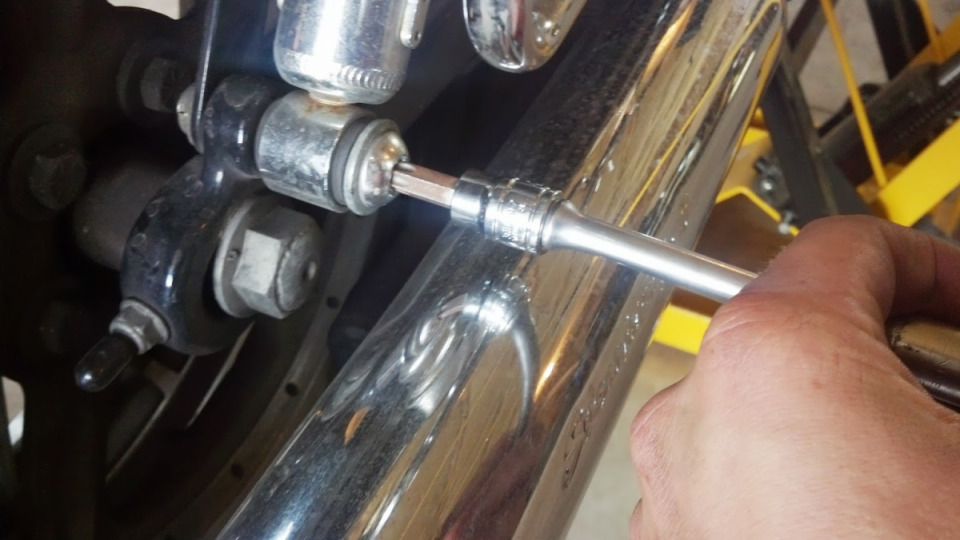
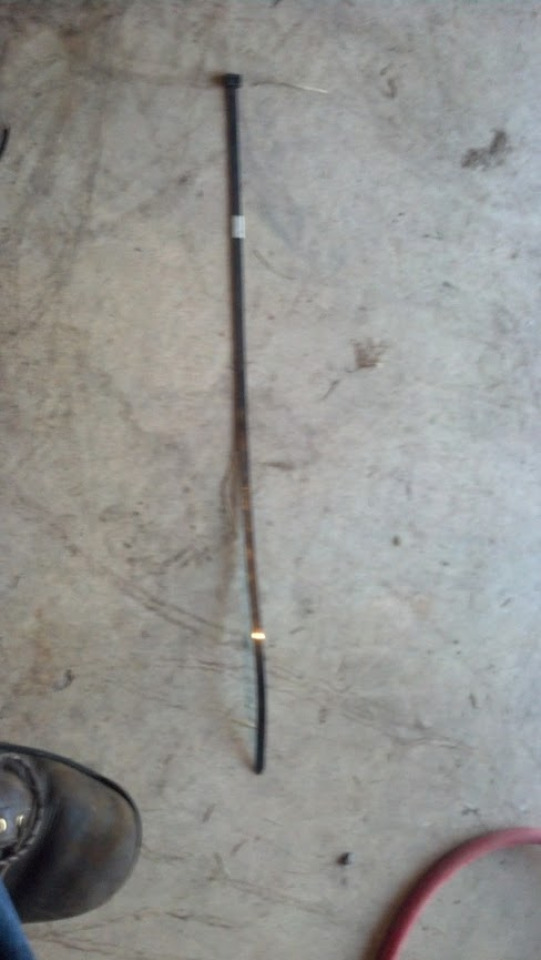
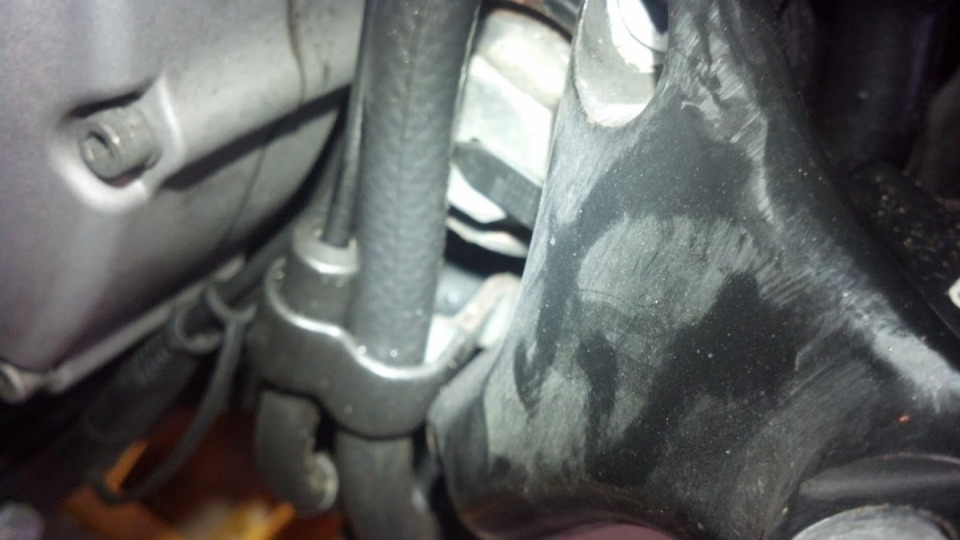
2. Now, accept off both lower shock/spring bolts. They are a T50 Torx.
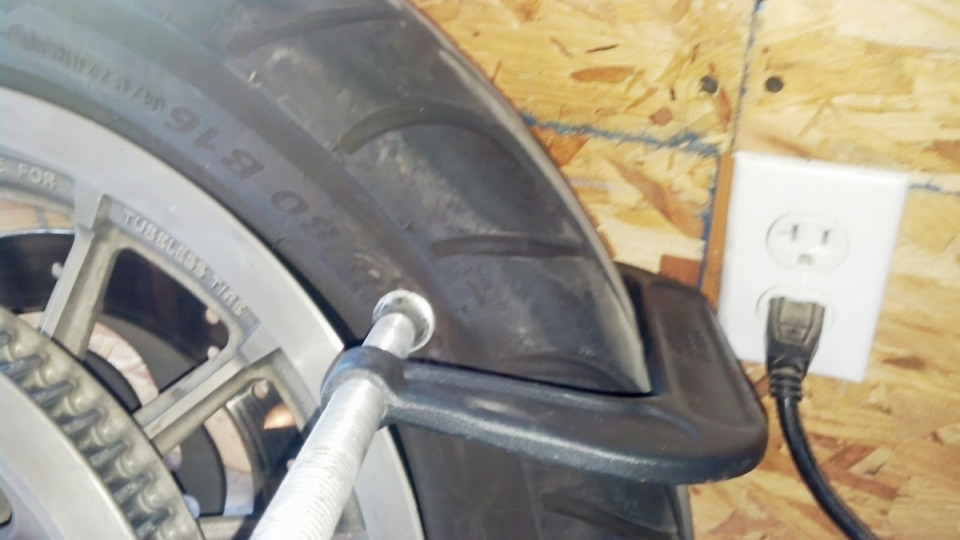
3. Now with the jack under the tire jack up the bike to where the axle can slide out over the rear exhaust pipe. Note, if you lot practise non take stock pipes you may non have to jack the tire upwards into the fender. (sorry for the crappy image here. That is virtually the meridian information technology volition be at. The beam slides out to the right of course though. I removed the clip that is on the end of the axle already. Call back to practice that. Just take a 1/8in apartment screwdriver and pop it out. You lot are supposed to purchase a new ane but I reuse it. It doesn't thing anyway.
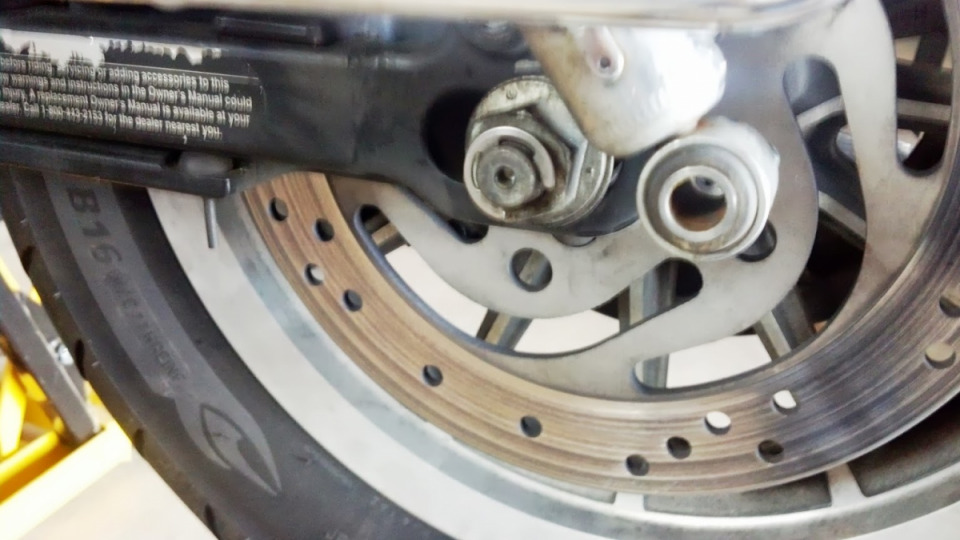
4. Loosen the alignment screws to make it easier to slide out the axle. Note, you don't HAVE to do this, simply it is very very hard to re install the axle with the belt tensioned. Apply ONLY a rubber mallet or soft steel hammer to pound on the beam if needed. Much force shouldn't be needed, just if y'all utilise a steel hammer you can stress and crack the beam.
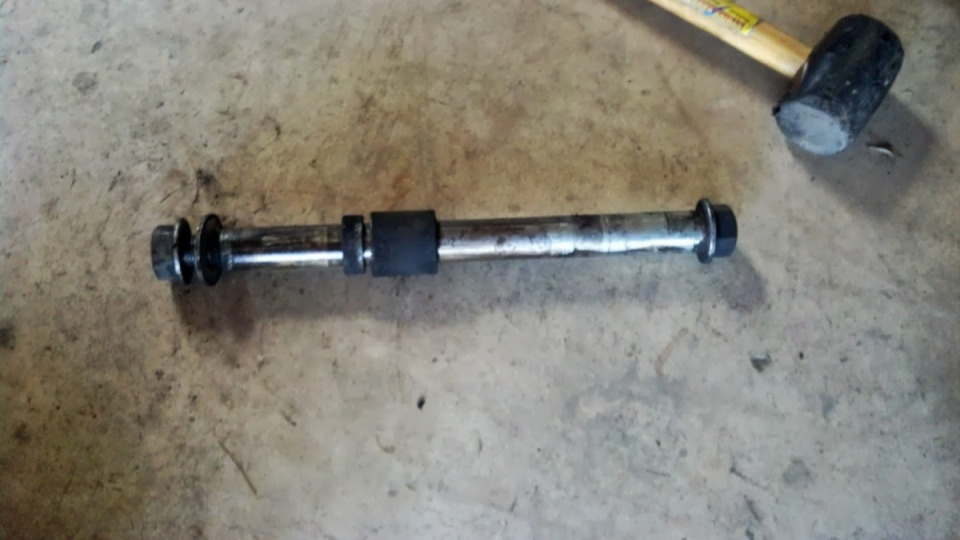
five. Pull the beam out and place the spacers on it in the correct lodge so you lot don't forget where they go.
Stop
If you are smart you will now have your tire to someone who can mountain it and balance it as taking it off and putting a new i on is a hurting in the ass.
But since I am not smart...hither information technology goes.
If yous want to mount and dismount tires as well equally residue them y'all need
1. Some type of tire spoons
2. A C clamp or preferably a bead billow to break the dewdrop
iii. A tire balancer. (50 bucks or so at Harbor Freight)
4. Rim protectors
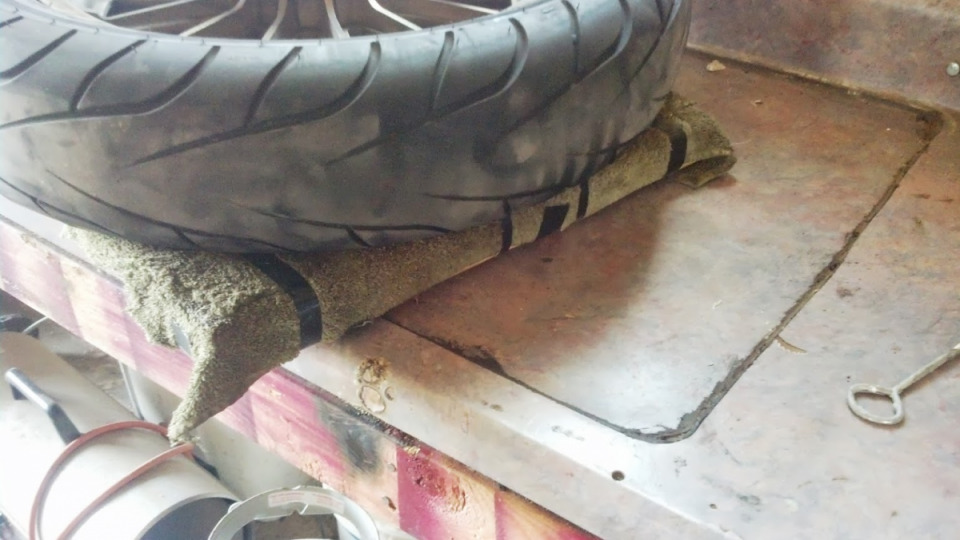
Then you will want to make a frame like this for the cycle to sit down in and so you don't destroy your rotor and pulley.
vi. Permit the air out of the tire by removing the valve stem with a valve stalk removal tool.
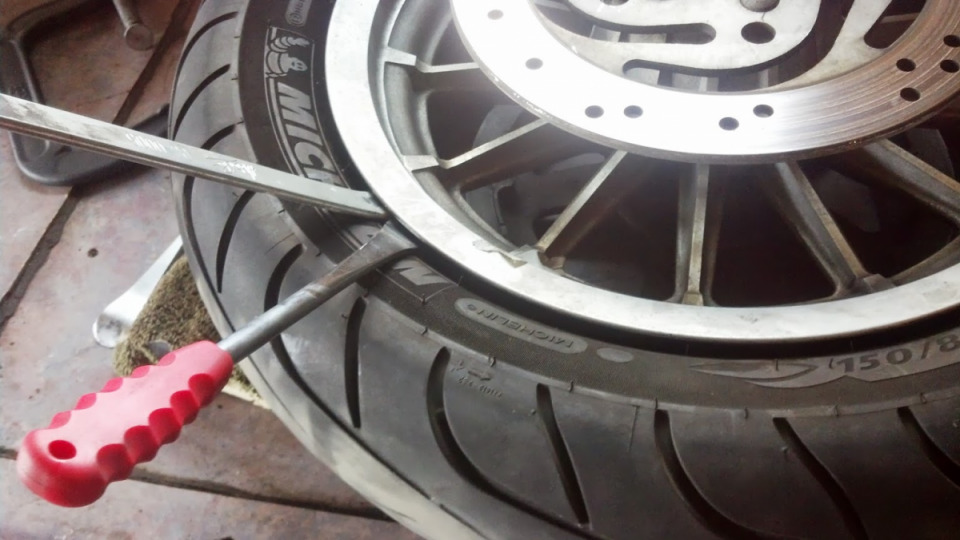
Now here is the difficult function. I could non get pictures of the procedure because it is more of a video necessary thing. That being said there are tons of videos on Youtube to testify you how to get a tire on and off. Basically information technology is a combination of swearing, prying, and WD40 and eventually you lot'll go it off and the new i on. Note, make sure to line up the barcode on the dewdrop of the tire to match the location of the valve stem. (Sometimes it is a dot on the bead of the tire too) This aligns the lightest part of the tire to the heaviest part of the rim and then y'all don't have to residuum the tire with equally much weight. And to be honest, Dave 63 said he didn't ever balance his tires at all so have that for what its worth too...
Subsequently that you demand to ready the dewdrop of the tire. You demand a good air compressor, more WD40 and more swear words as well as a Usually Open air chalk. what that is is an zipper that allows you to force air into the tire faster because yous don't take to have the valve stalk in to use it.
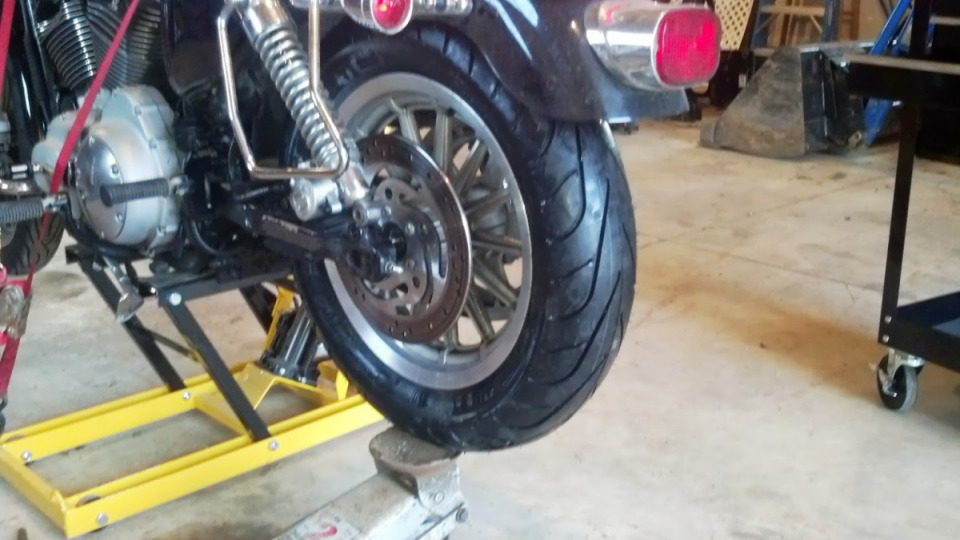
Afterwards that y'all will come with this
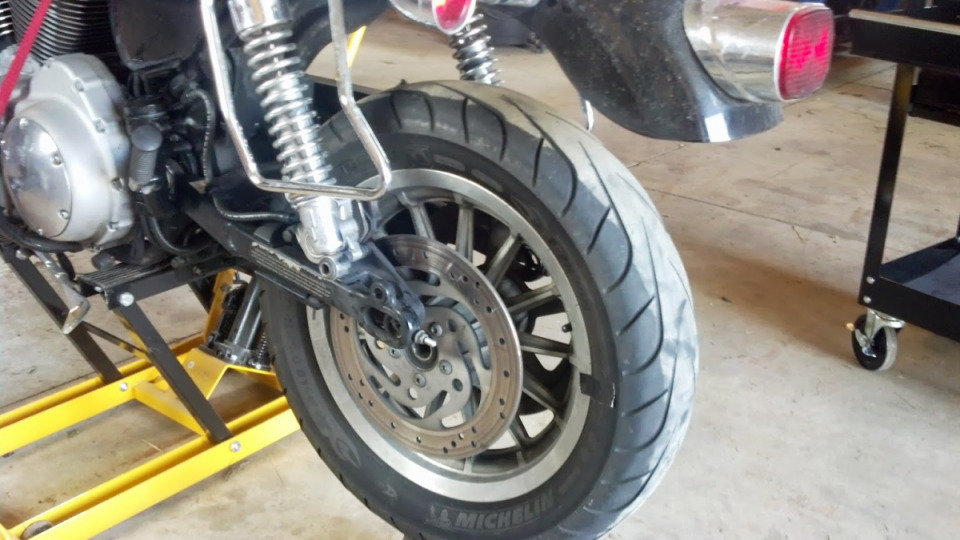
Now hither is the deal. You need to jack up the tire similar you lot did before so the axle volition fit over the rear exhaust pipe.
And then shove the axle through remembering to put the spacers back in. You desire to re anti-seize the axle, a nice light coating and reattach the shocks and take the jack out from nether the bike.

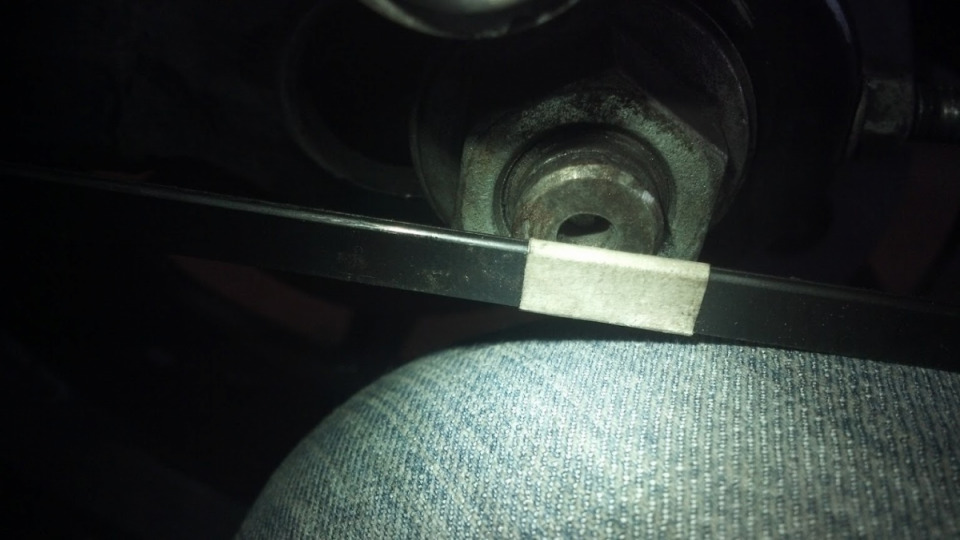
Now. To arrange your belt and center the tire. Get out the beam loose just with the bolt on and what I do personally is utilize a giant zip necktie and mark information technology with a piece of tape.
And then center the point by the front dimple in the swingarm. Right by the passenger pegs.
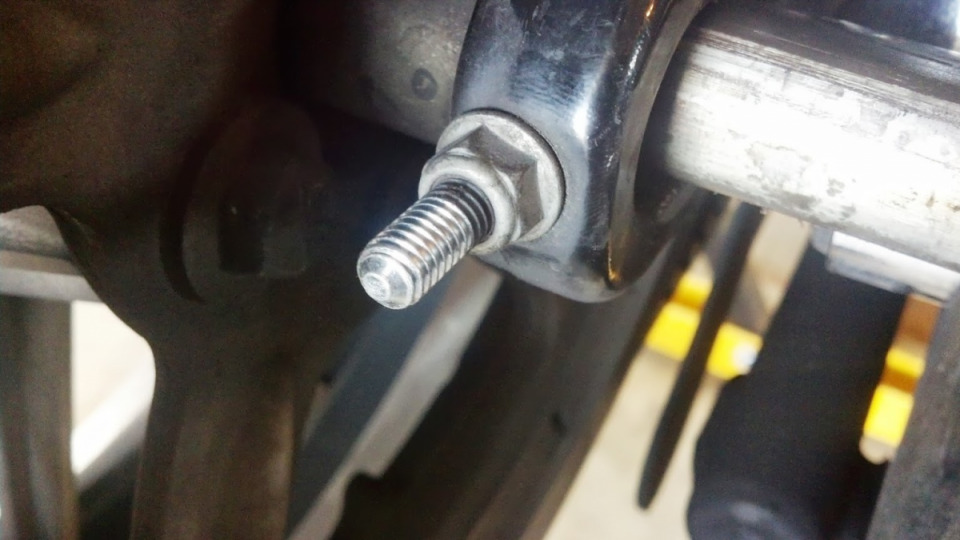
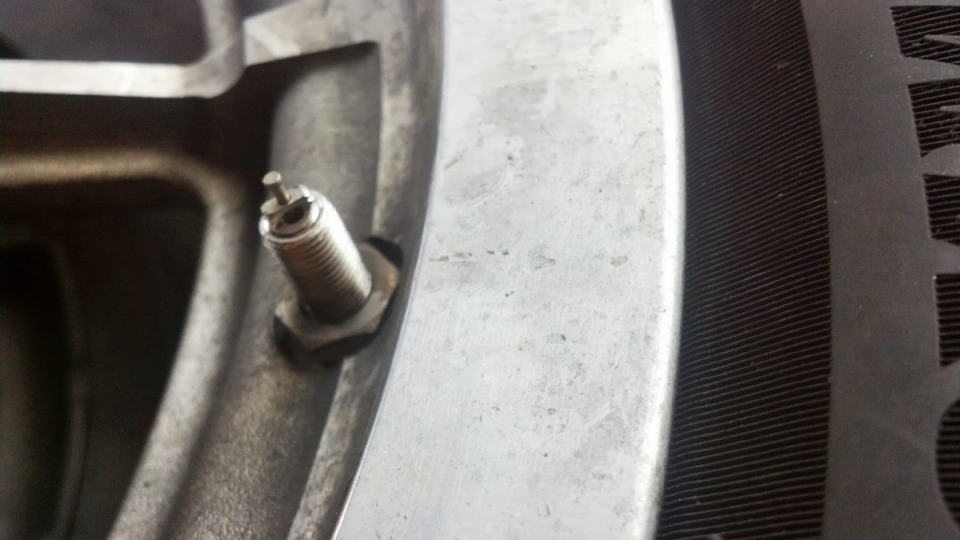
Now, on the piece of record you tin can middle up or write down where the axle falls on the right side with the belt tensioned correctly. About 1in of travel up and down. Information technology should exist tight simply not guitar string tight. Use good judgement and you won't have an upshot. The adjusters pictured previously are what you employ to suit the centering...or should i say angle of the tire.
Then once the chugalug is good on the right you can lucifer the left with it. It may take some playing effectually to become it all squared abroad. Once they match you can use your 1 1/4in socket to tighten the axle to 65ft/lbs I believe. Check your Service manual to make sure.
And your done! Become for a ride an revel in the cost savings.
Note I did not show you how to residual the tire. Again that is a very visual matter so I just assume you await information technology up on Youtube and you lot will get a lot more than info on how to exercise information technology.
Couple more than things. Yes my cycle is filthy, yeah it will be getting a bath soon and remember to utilise the rim protectors whenever you tin can when prying on the tire/rim. Y'all can get away without using them but one skid and you're fudged.
Source: https://motoridersuniverse.com/mb1214340
Posted by: langstonbillostrand.blogspot.com
0 Response to "How To Change The Rear Tire On A 2004 Harley Davidson Roadking"
Post a Comment